Stable app
Set up DCS displays step by step
The guided setup helps you choose screen space, displays, and resolution before applying your DCS configuration.
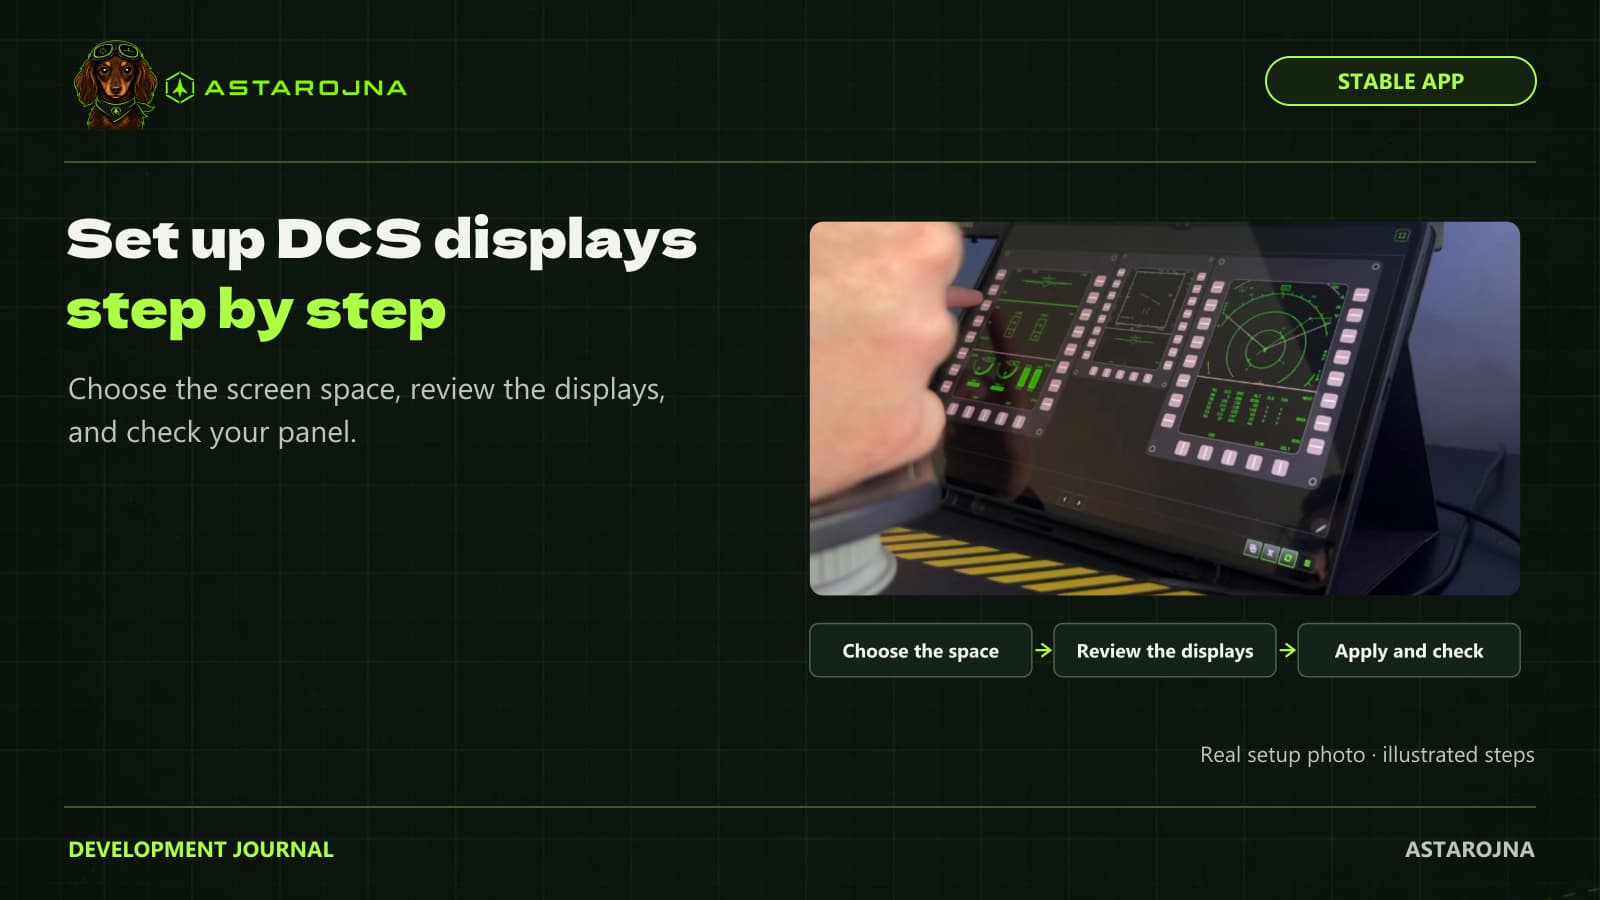
An external panel starts with a practical question: which DCS displays do you want to see, and where should they appear? The answer depends on the space where DCS renders them, the size of each image, and the screen where you will view the result. Guided setup puts those decisions in an order you can review.
Guided setup was introduced in stable version 0.45.0. It helps prepare your layout and review choices before applying them. Work with the displays and dimensions of your own panel to make the final check easier.
Start with the image destination
Choose what you want to display and the screen space available before deciding how many displays to export. The area where DCS renders an image is different from the tablet screen that receives it through a browser. Keeping those two spaces separate makes unexpected cropping or scale easier to diagnose. A virtual monitor may help certain layouts, but it is optional.
Review the layout before applying it
Suppose you want two displays from one aircraft. Set their count and resolution, inspect the preview, then apply your choices. Open the simulator and check that both images appear in the expected positions on your panel. If one is blank or cropped, revisit the source or available screen space. A preset alone cannot verify what your simulator is currently outputting.
Finish with a live check
After applying the layout, open the simulator and check each image in its intended position. If a display is blank or cropped, review its source, reserved space, and resolution. A monitor or screen-size change may call for another adjustment. The sequence gives your setup an organized starting point.